Creating Orbit Activities For New ConvertKit Newsletter Subscriptions
Using ConvertKit, the Orbit API, and Zapier to create a powerful integration

Alex Morton
February 1, 2021
In this blog post, I’ll show you how to add an email subscriber activity to your Orbit workspace when someone signs up for your email newsletter.
Note: this tutorial covers the event of an email subscription, but it can be used for any ConvertKit event.
One of the major benefits of keeping track of your new email subscribers in Orbit is that it gives you a more holistic view of your community.
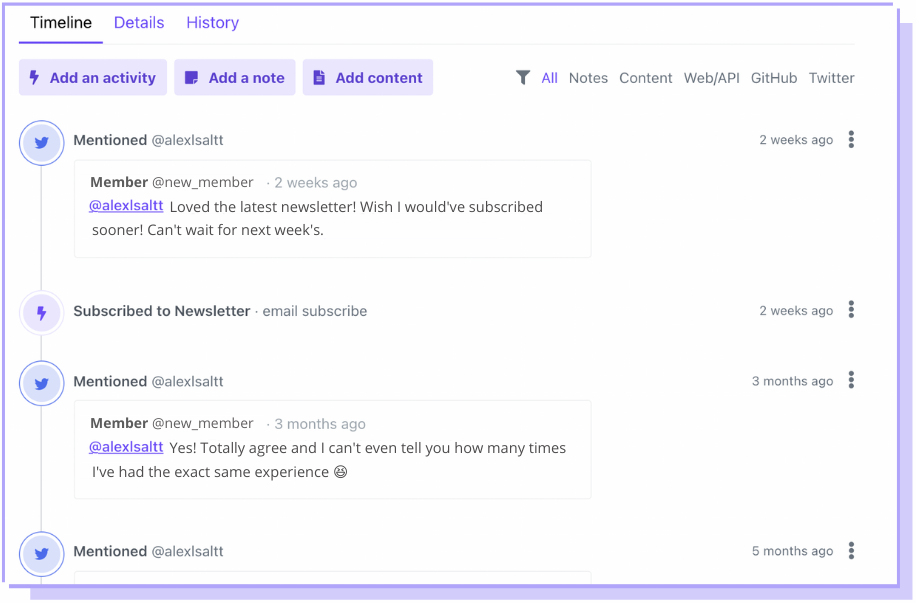
Consider a member of your community following you on Twitter and then, not long after, subscribing to your ConvertKit email newsletter.
If you take a look at that community member’s profile on Orbit, you’ll be able to see how their relationship has grown with you over time - especially where and when it started.
Prerequisites
Before you start the configuration process of connecting ConvertKit to Orbit via Zapier, here’s what you’ll need:
- An Orbit account
- A Premium ConvertKit account
- A Zapier account
For this, we’ll use a Zapier workflow automation. Keep in mind that the Zapier free plan only allows zaps with 2 steps. Fortunately, for this automation, we’ll only need 2 steps.
On the other and, you’ll need to have a Premium ConvertKit account for this automation to work since webhooks can only be established for Premium ConvertKit accounts.
Step 1 - Create a zap
Zapier calls its workflows zaps. Click the black Make a Zap button in the header to create one.
Step 2 - Create a ConvertKit trigger
At the next screen, under “App Event,” search for ConvertKit.
Click on ConvertKit. Once the dialog refreshes, open the Choose an Event dropdown and choose New Subscriber.
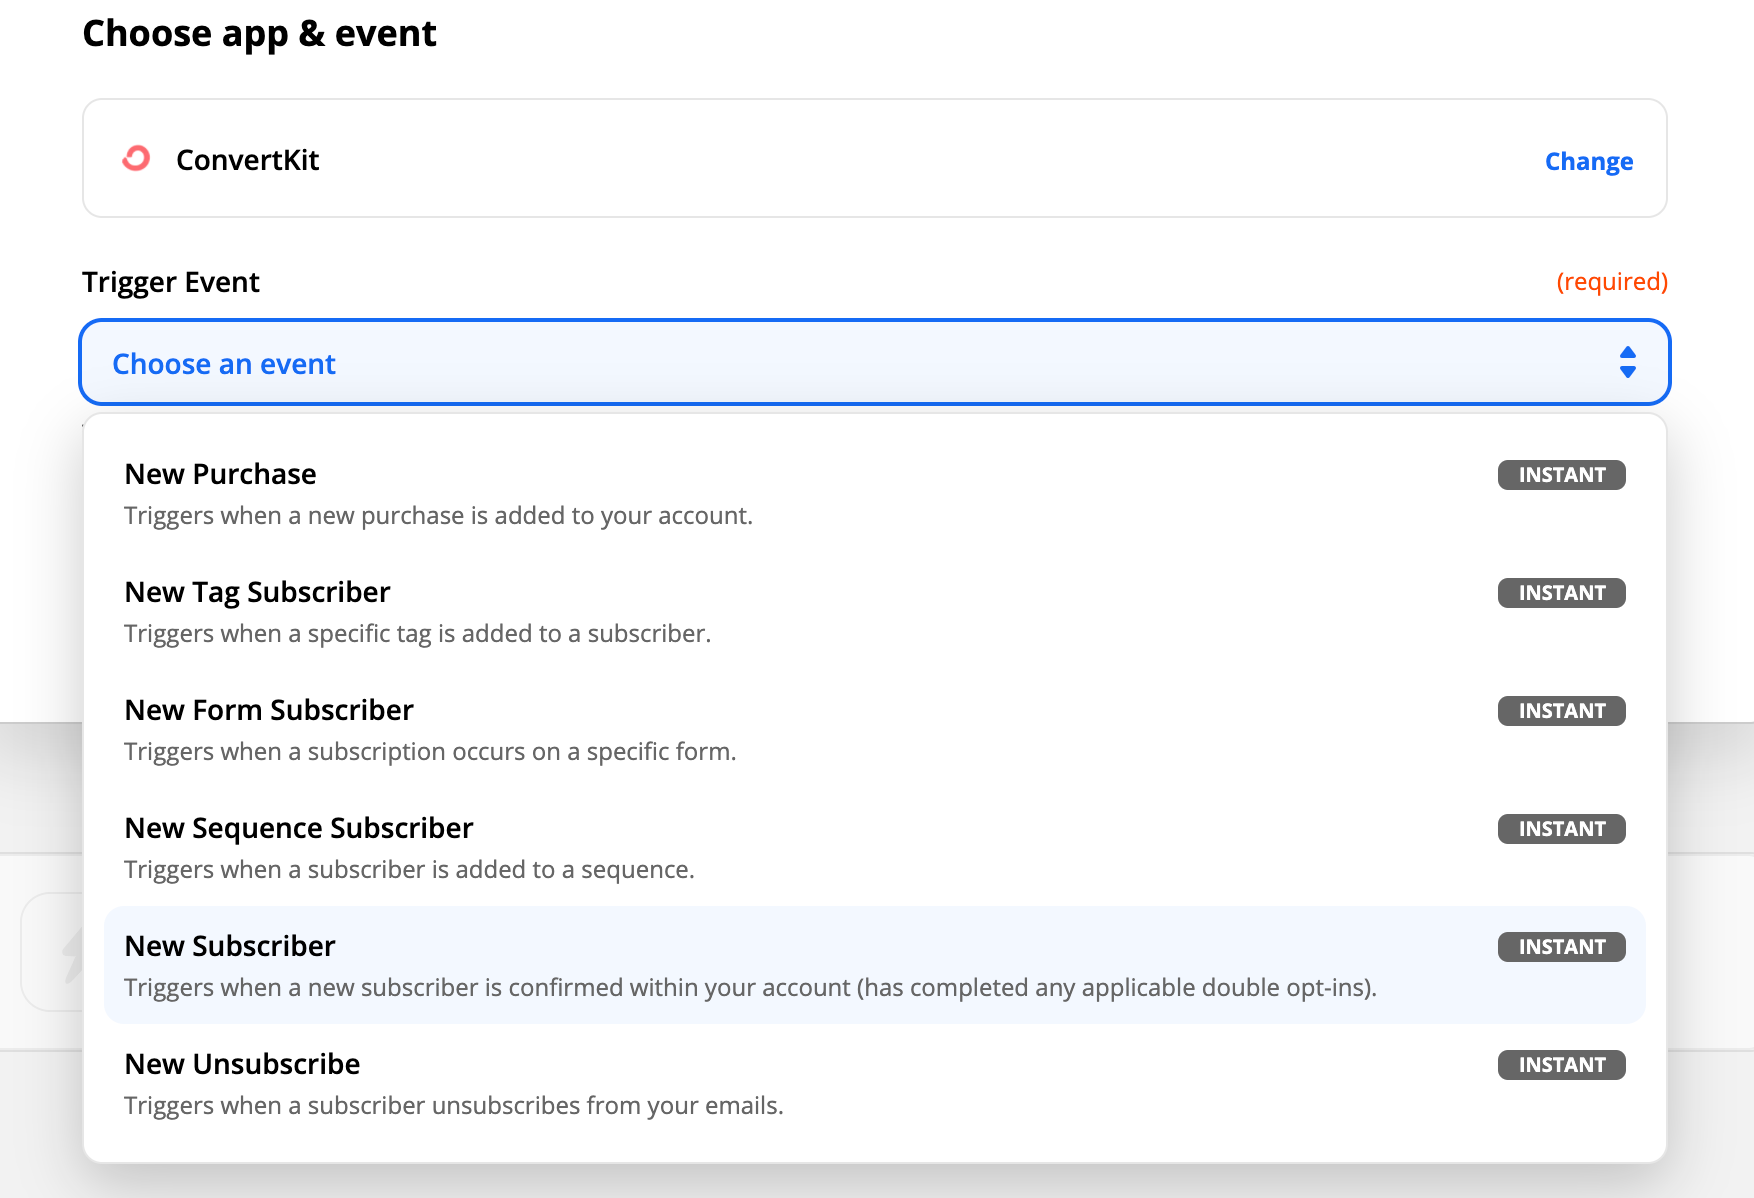
Click Continue. Next, you’ll need to connect your ConvertKit account. If you haven’t done this yet, expand the ConvertKit account dropdown and choose Connect a New Account. You will go through an authentication flow with ConvertKit in a new window, and you will need to grant Zapier the permissions it needs.
Note: Make sure you’re using your ConvertKit API Secret (found in your ConvertKit account settings), and not your API Key to connect to Zapier.
Click Yes, Continue.
❗ Before you test, I’d recommend personally subscribing to your ConvertKit email list so that Zapier can use your email subscription information to test. This just makes the next steps easier, as the most recent email subscription will be tested.
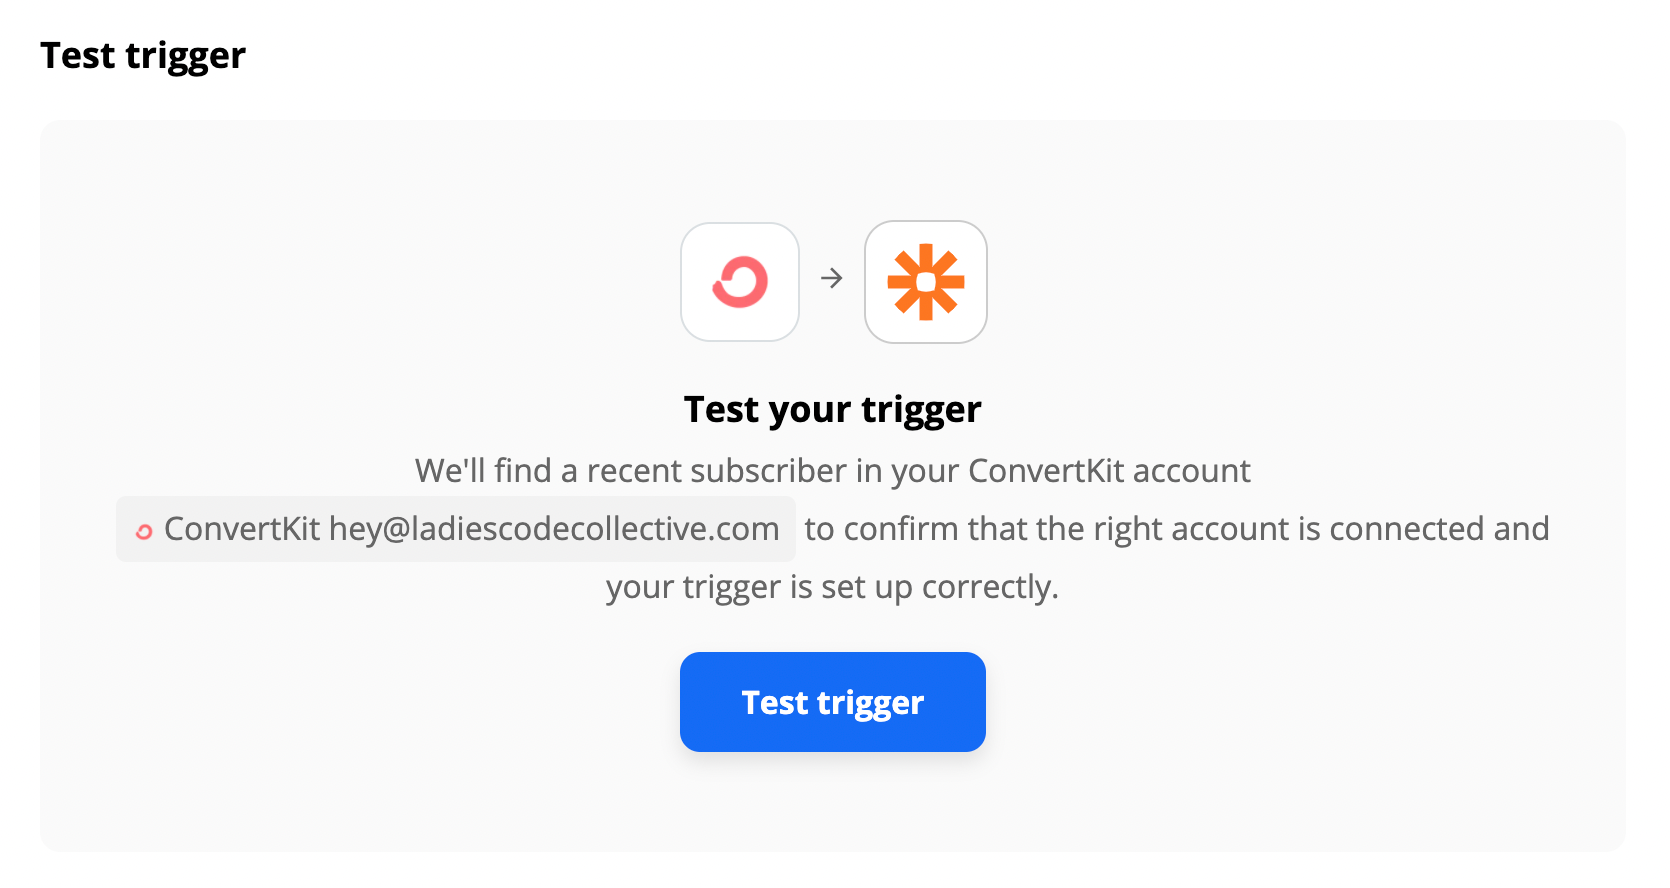
At the next dialog, click Test Trigger. This will verify the ConvertKit connection.
Step 3 - Configure an Orbit action
In the next Choose App & Event section, search for Orbit. Choose Orbit and choose Create Activity in the Choose an Event dropdown.
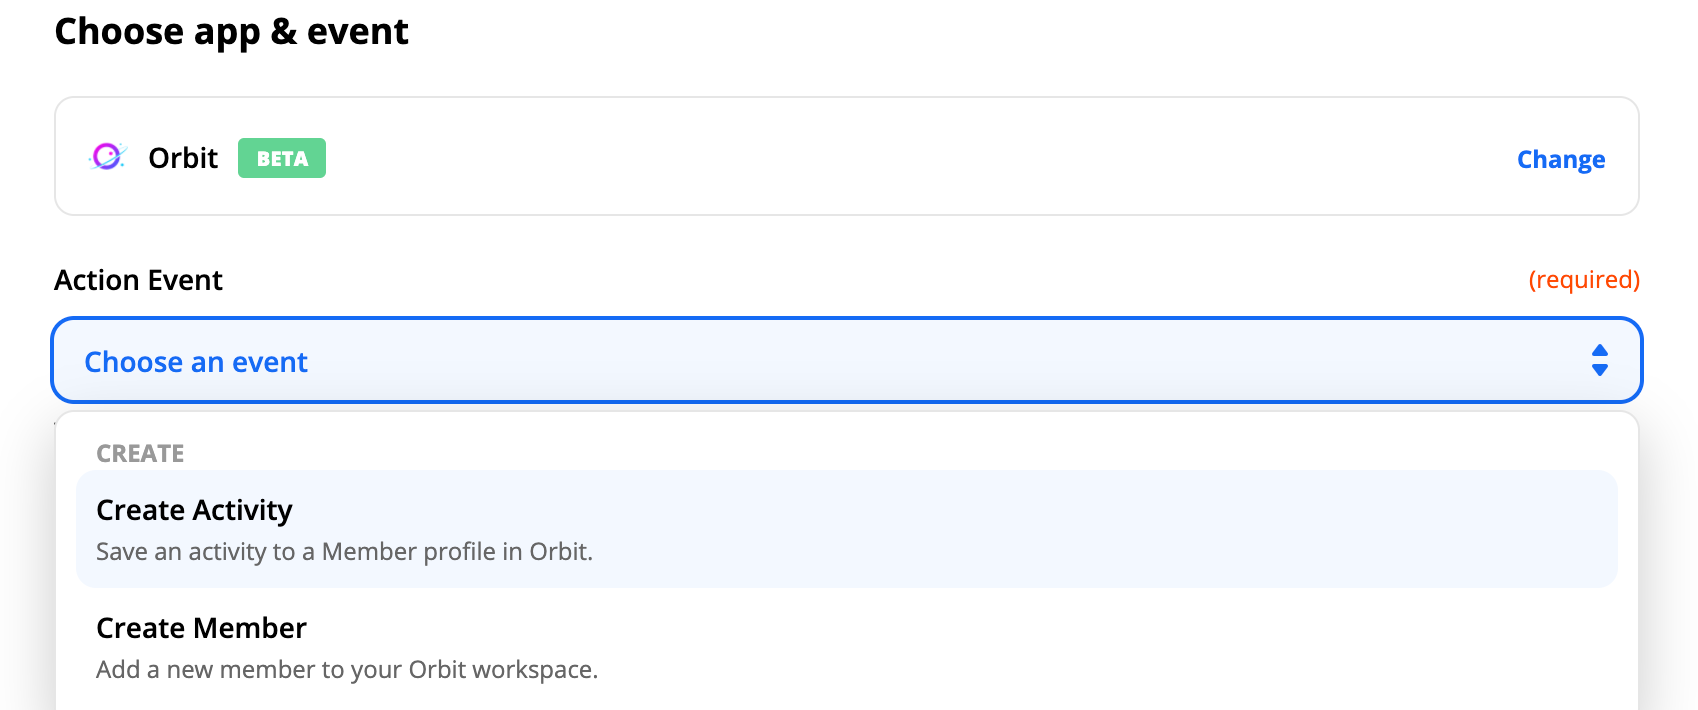
Click Continue. Choose or configure your Orbit account similar to what you did with ConvertKit before in the corresponding authentication window. Click Continue.
You should now see a form titled Set Up Action. This is where we configure how the activity in Orbit looks and what data goes inside of it. There are a lot of options, so we’ll go through the important ones step-by-step.
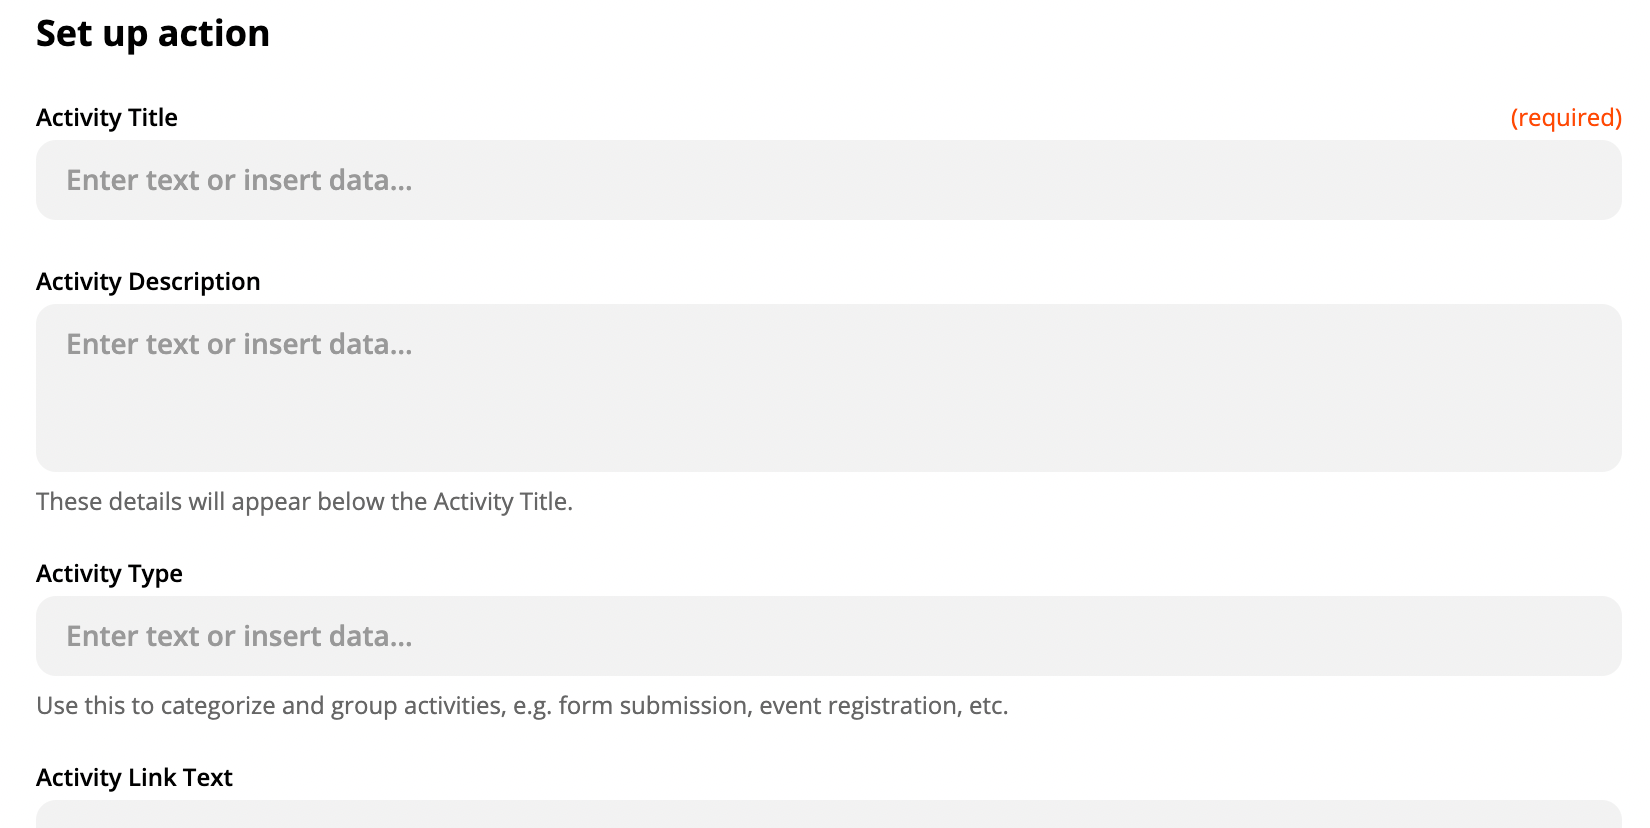
Activity Title - Choose a title for this activity (i.e. ‘Subscribed to newsletter’)
Activity Type - Not mandatory, but it can be good to add in ‘email subscription’ here
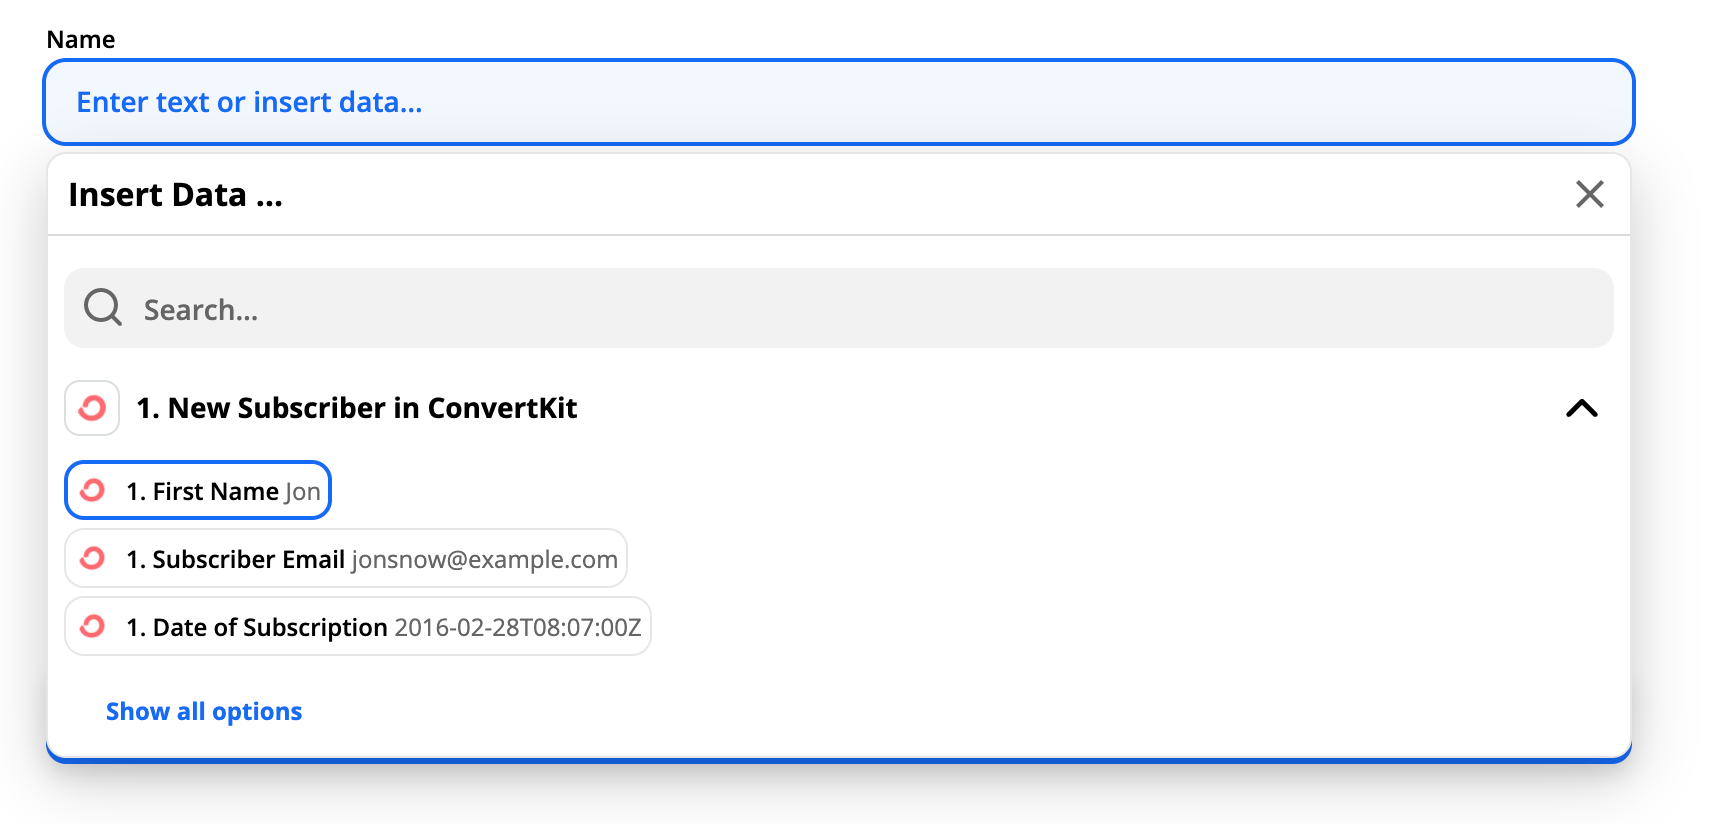
Occurred At - In this dropdown menu, select ‘Date of Subscription’
Member Email - In this dropdown menu, select ‘Subscriber Email’
Name - In this dropdown menu, select ‘First Name’
Step 4 - Test the integration
Once you have all the fields as you want, click the big blue Continue button again. Click Test & Continue.
Check your Orbit workspace for a notification. If everything worked, you should see something like this in your Orbit workspace:

Click Turn on Zap. Assuming all has gone according to plan, the zap is now activated and will run every time someone subscribes to your ConvertKit email newsletter.
Note: If your tests are running correctly while setting up your zap, and then you start getting errors when trying to turn on your zap, it’s most likely because of your ConvertKit account status. Remember: only Premium ConvertKit accounts work with this automation because free accounts are unable to establish webhooks.
Lastly, if you haven’t named your zap yet, you should give it a memorable name like, ‘Notify about new email subscribers in Orbit.’
There you have it! We just covered how to create an Orbit activity when someone subscribes to your ConvertKit email newsletter.
If you’re interested, we invite you to test out the Orbit API with Zapier for yourself to be able to integrate with wherever your own community hangs out online.
Take a look at our sample zap connecting new ConvertKit subscribers to an Orbit workspace.
And of course, if you have a favorite workflow that you’d like to see us write about, drop us a line at hey@orbit.love or ping us on Twitter @OrbitModel and let us know.
Thanks for reading!
You might also like:
- Why Orbit is Better Than Funnel for Developer Relations
- DevRel teams need tools and models created specifically for our discipline, and not just those adopted from other fields.
- Slack vs Discord vs Discourse: The best tool for your community
- An in-depth comparison of 3 top community platforms across dozens of factors.
- How we use Orbit to build Orbit
- A guide to how we use our product to build our community.

